Subject
- #Personal Information Protection
- #Specific Area Mosaic
- #Paint
- #Photo Editing
- #Mosaic Processing
Created: 2024-04-28
Created: 2024-04-28 18:21
These days, personal information is incredibly important.
Because of this, there are many situations where you need to mosaic faces in photos or parts of screenshots. Let me explain how to easily mosaic images.
![How to apply mosaic using [Paint]](https://cdn.durumis.com/image/flj75578-1hshu5ka5?width=660)
How to apply mosaic using [Paint]
If you're using a Windows PC, you can use the default Paint application to create mosaics.
1. Launch Paint.
2. Load the image you want to mosaic using [File] → [Open].
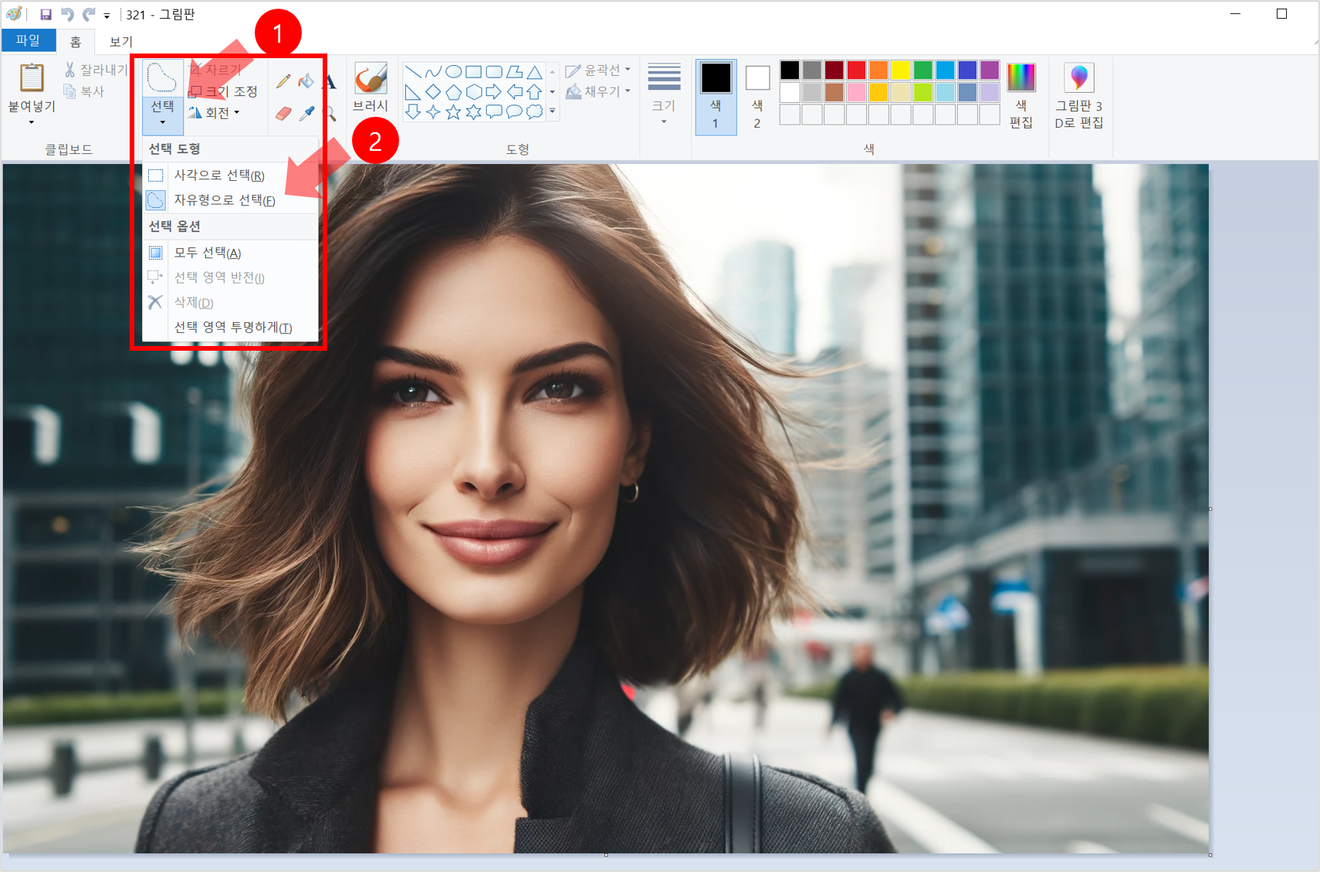
3. Click the [Select] box in the top left corner.
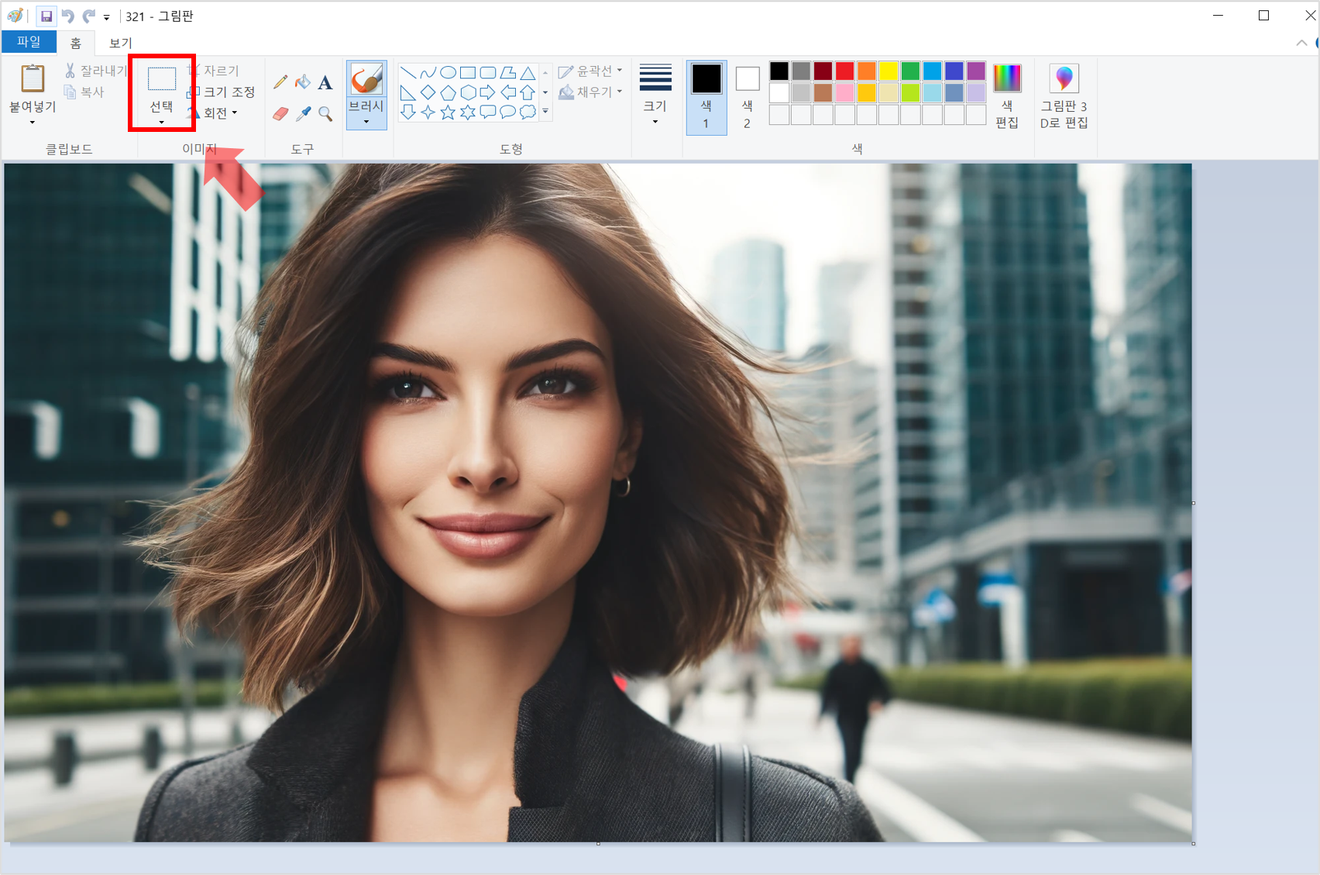
How to apply mosaic using Paint - Image Source: Dall-E 2
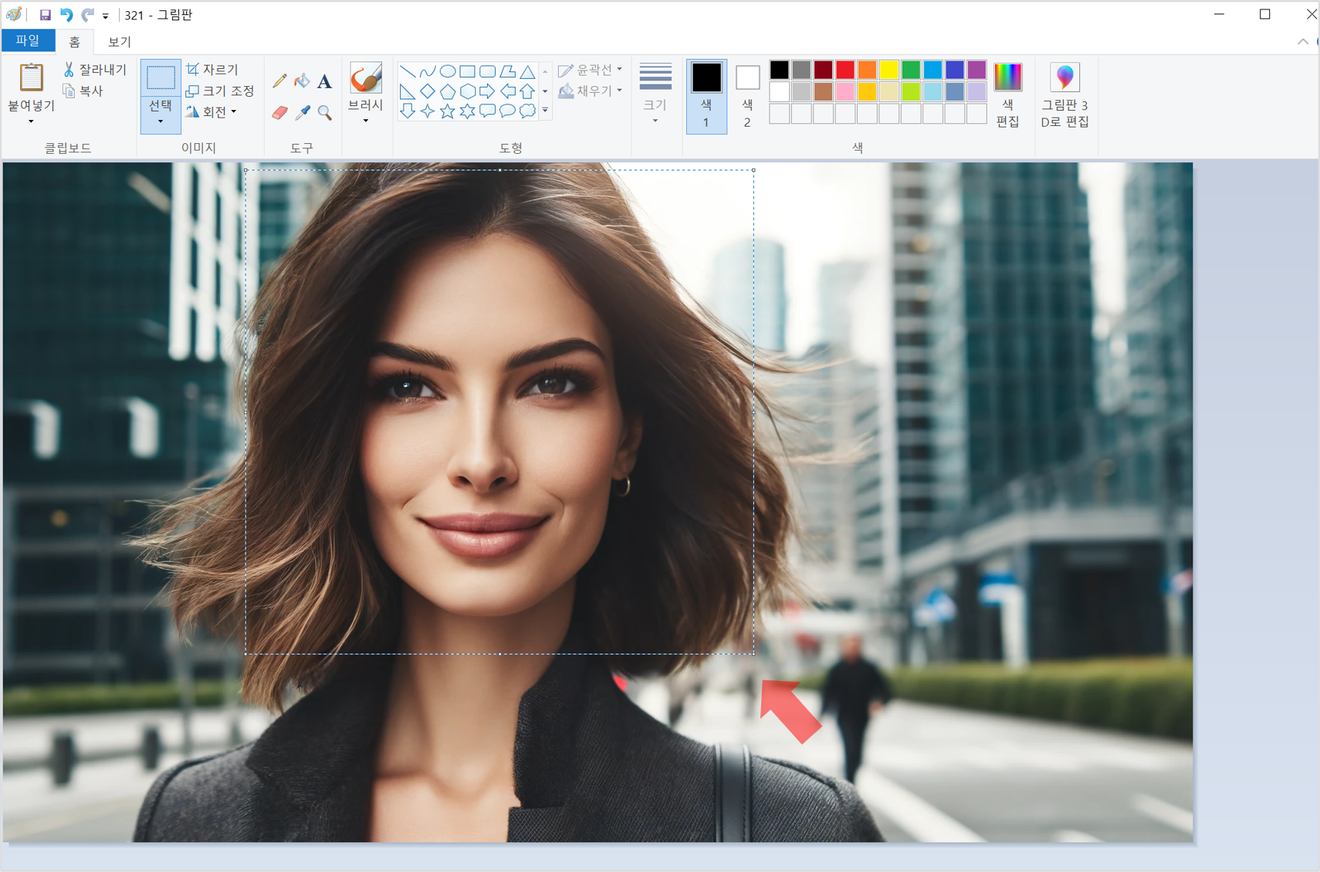
4. You'll be able to select an area. Let's select the entire face.
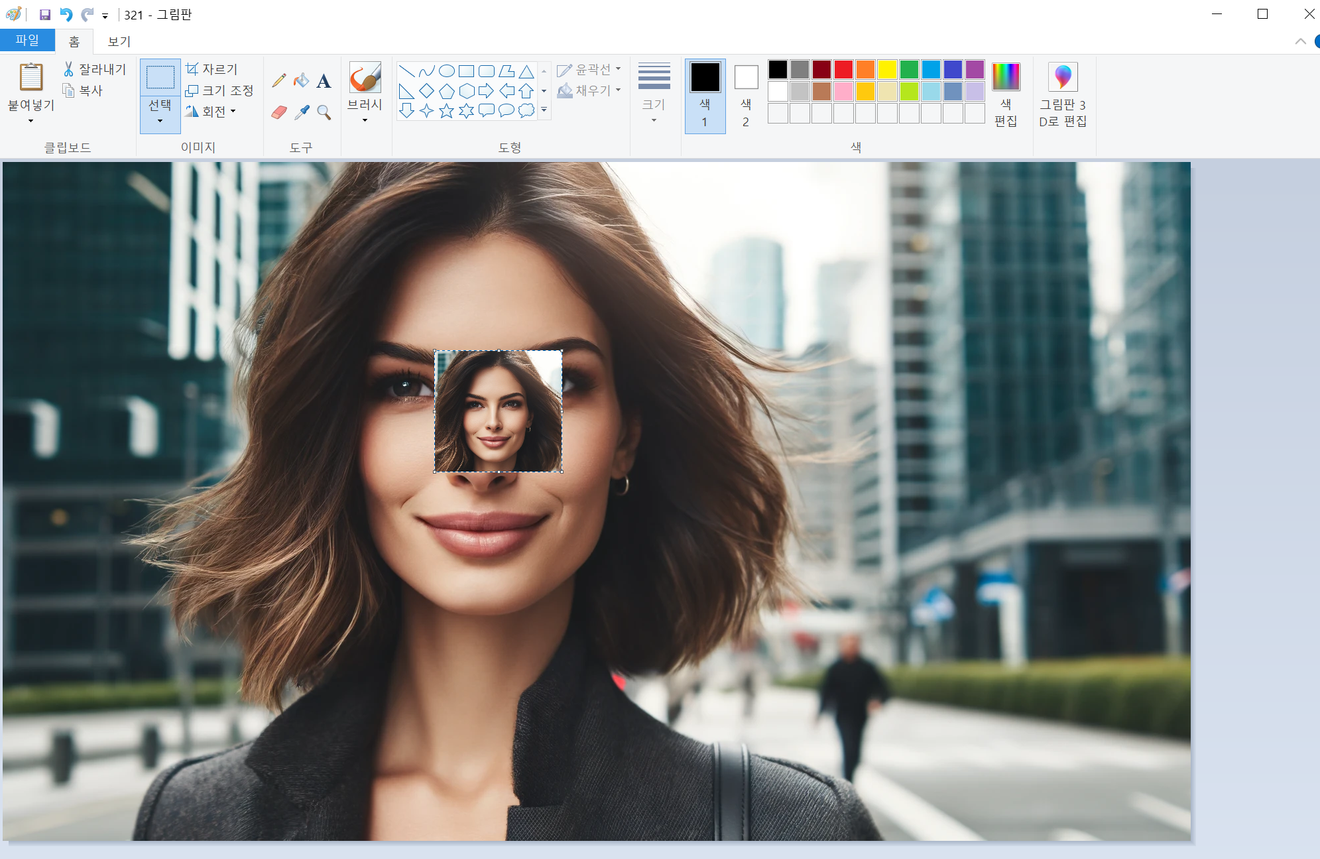
5. Press [Ctrl+(-)minus] key 4 times within the selected area.
6. Press [Ctrl+(+)plus] key 4 times again within the selected area.
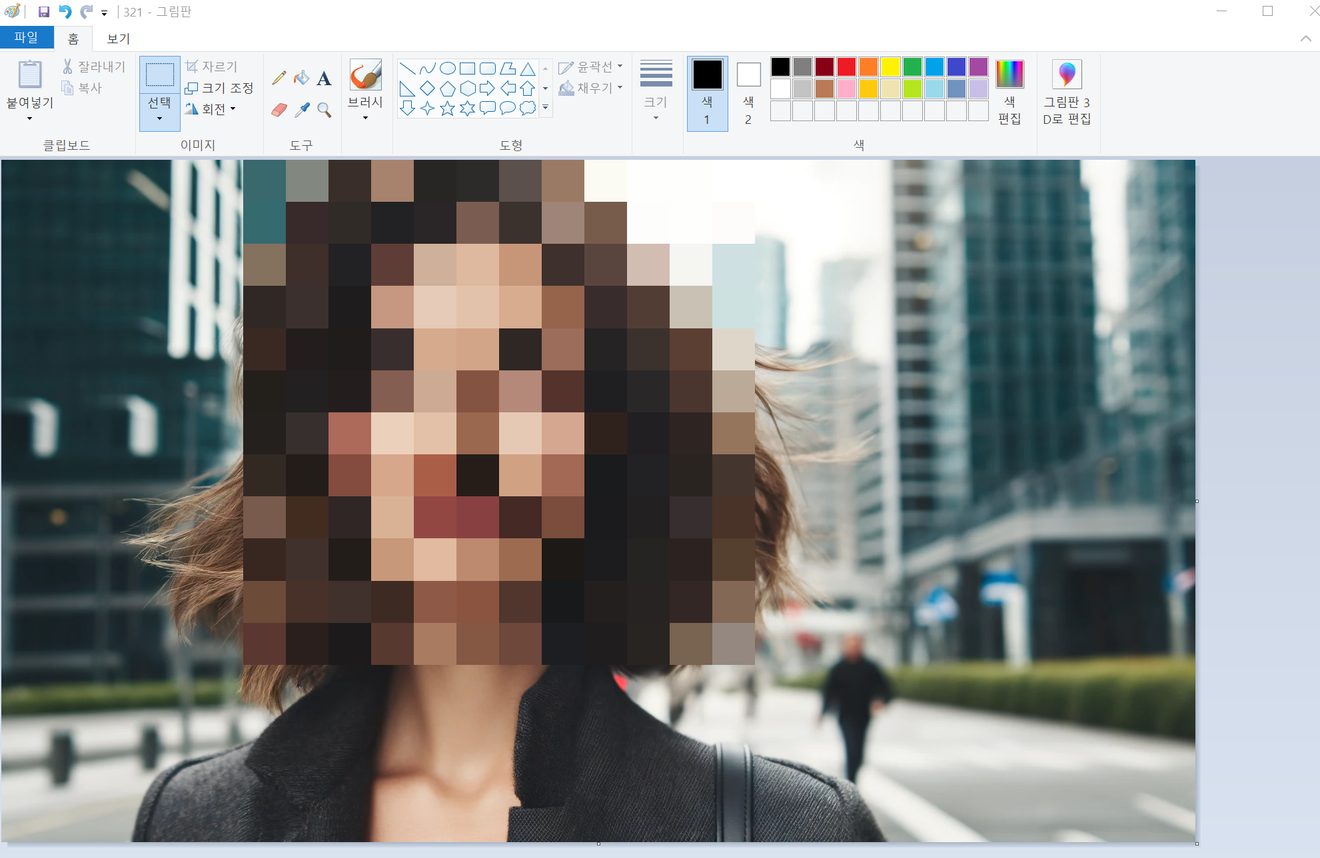
7. You're done! Now, save the file using [Save As] and you're finished.
But you can't always mosaic using a square shape, right?!
1. When you click the [Select] button, you can choose the shape. Click the [Free-form Selection] button.
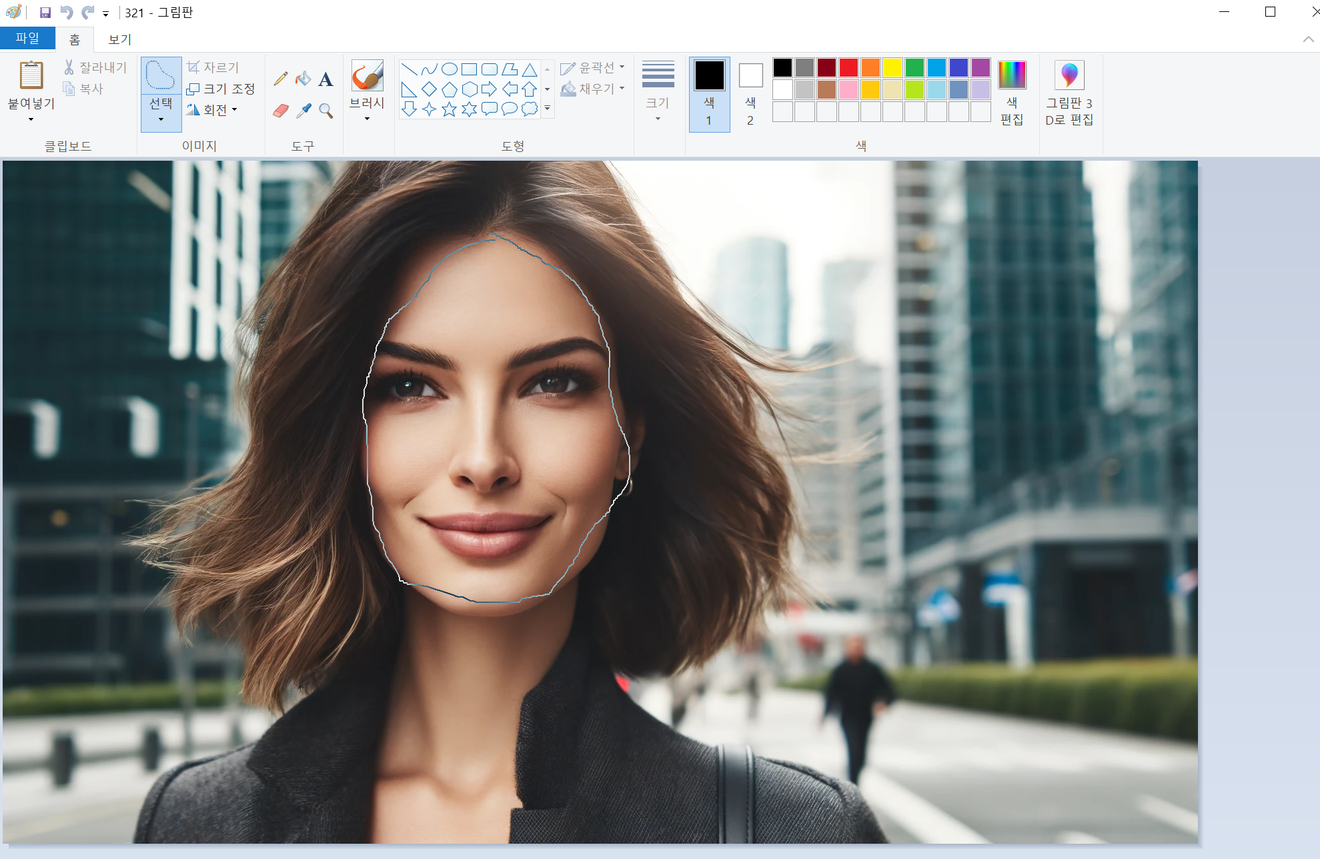
2. You can now select the area. Let's draw only the facial area excluding the hair.
3. Similarly, within the selected area, press [Ctrl+(-)minus] key 5 times, and then press [Ctrl+(+)plus] key 5 times.
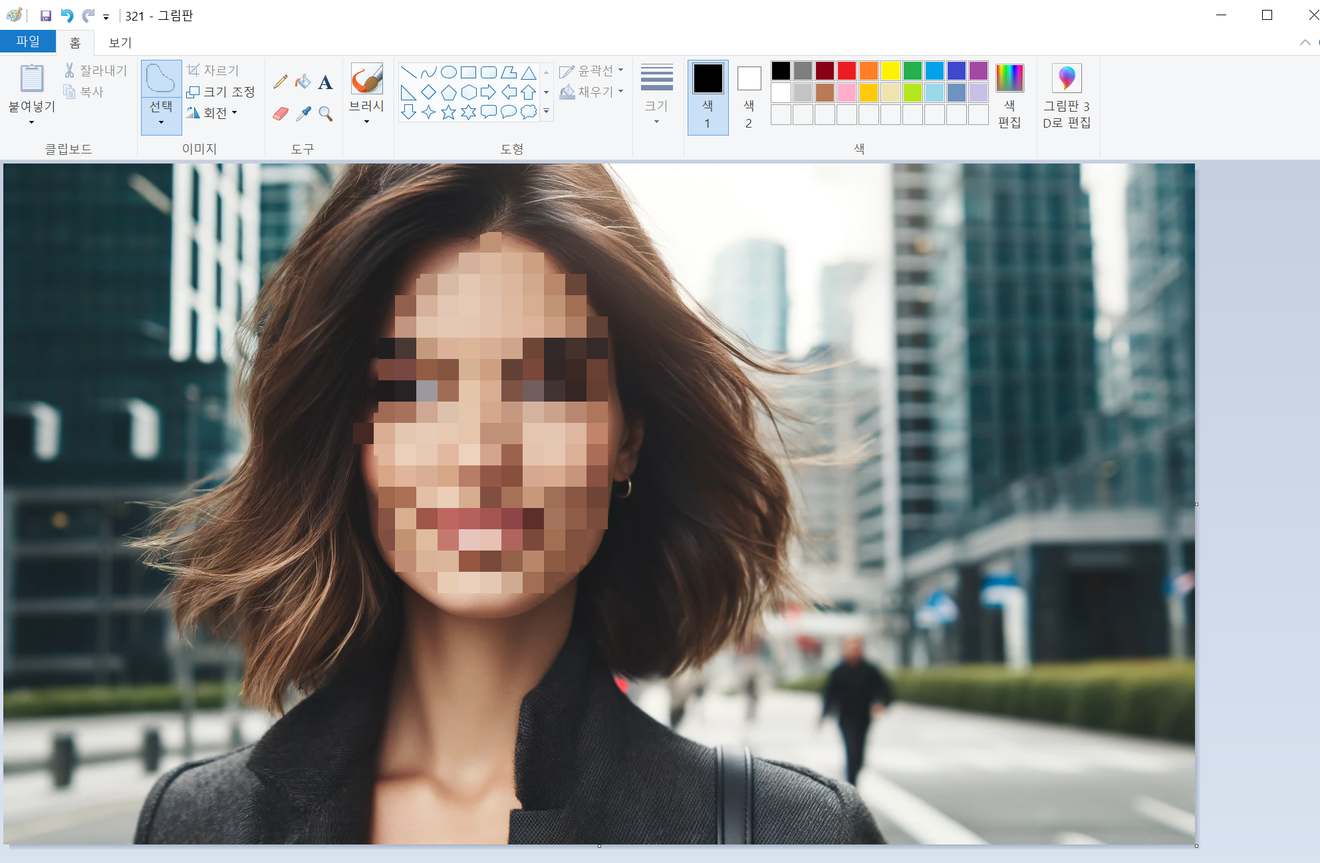
4. You can see that only the facial outline is mosaiced, excluding the hair.
5. You're done! Save the file using [Save As] and use it.
TIP: I strongly recommend using shortcuts. While there is a way to reduce and enlarge the size using the mouse, it can be difficult to get the size right. If the mosaic doesn't look good, increasing '-+ keys' to 4-6 times is also a solution.
November 17, 2024
February 5, 2024
February 12, 2025
January 16, 2025
November 23, 2024
November 18, 2024
Comments0